My Learning Journey - 3D Printing
From software setup to hands-on printing and project completion.
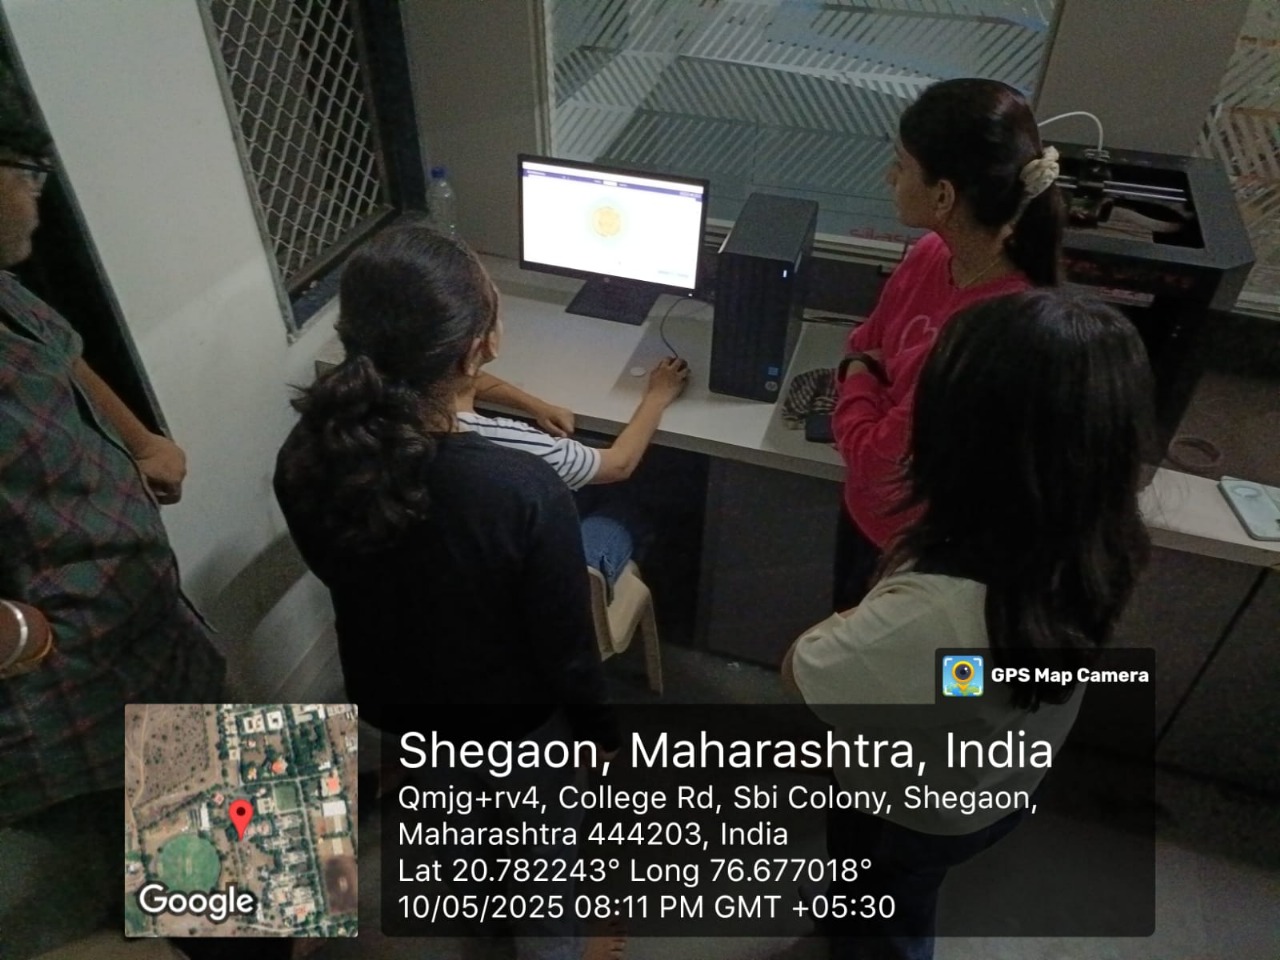
← Back to PortfolioDay 1
SoftwareUltimaker Cura Setup
On the first day of the FABLAB 3D Printing module, we focused on setting up the software needed to prepare our models for printing. We installed and configured **Ultimaker Cura**, a popular slicing software, and learned how to import 3D models in standard formats like **STL** and **OBJ**. I explored essential print settings such as **layer height**, **infill density**, and **print speed** to understand how they affect the final print quality and strength.
Key Learnings:
- Proper installation and configuration of slicing software.
- Understanding different print settings (layer height, infill density, print speed).
- Importing 3D models in STL/OBJ formats.
- Learning about support structures for complex geometries.
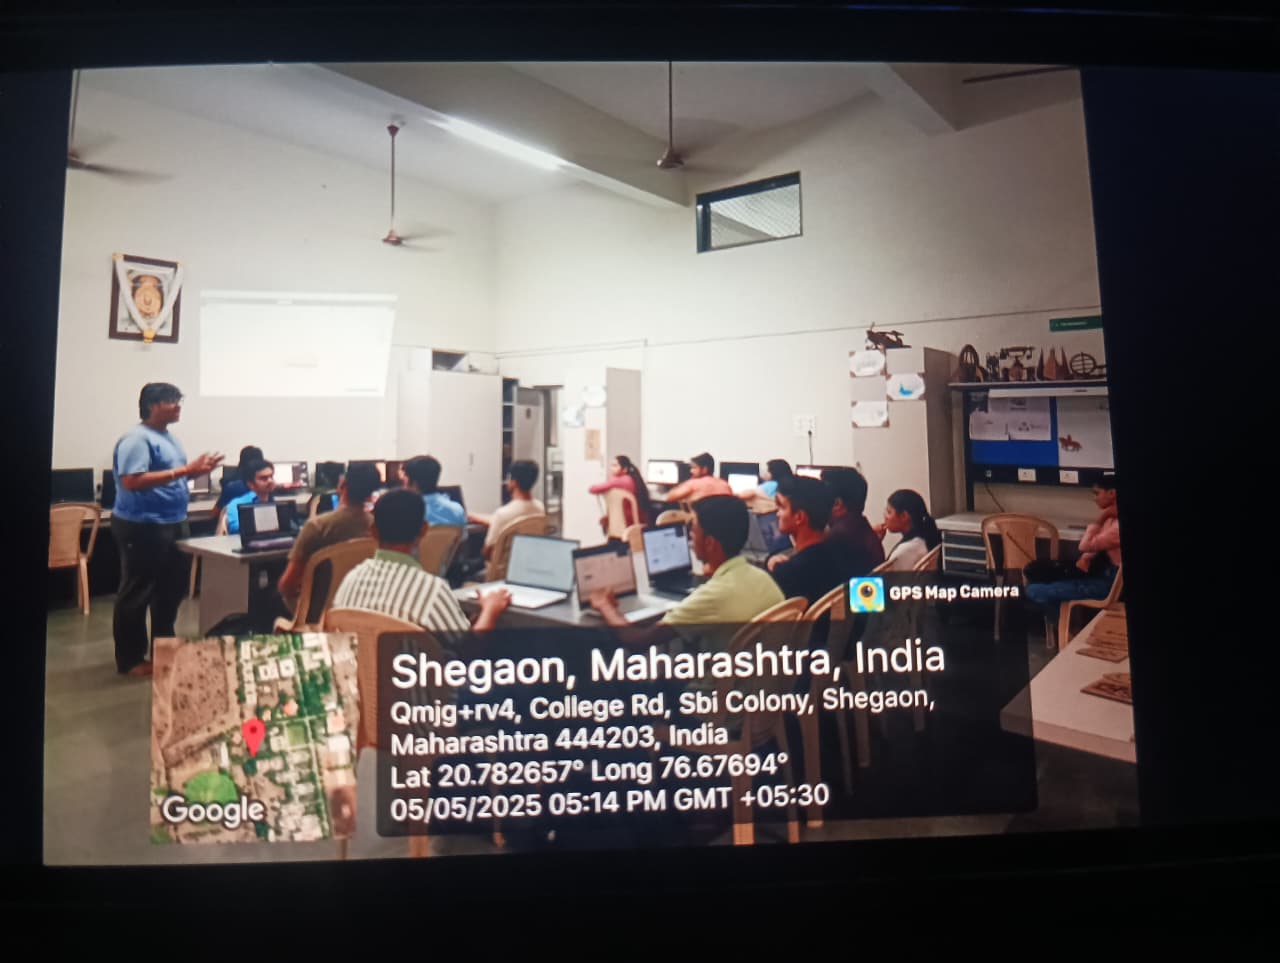
Day 2
HardwareHands-on 3D Printing
On the second day, we moved from software to hands-on experience with the 3D printing machine. I learned proper printer safety procedures and the process of loading and unloading filament correctly. We also covered essential maintenance, including **bed leveling** and **nozzle cleaning**, and I learned how to transfer the **G-code files** generated by Cura to the printer to initiate and monitor the printing process. I successfully completed my first 3D print and learned to troubleshoot common issues like **warping** and **filament jams**.
Key Learnings:
- Proper printer safety procedures and operation.
- Checking and loading/unloading filament correctly.
- Essential maintenance: bed leveling, nozzle cleaning, build plate preparation.
- Transferring G-code files from Cura to the printer.
- Initiating and monitoring the printing process.
- Identifying and troubleshooting common issues (warping, filament jams).
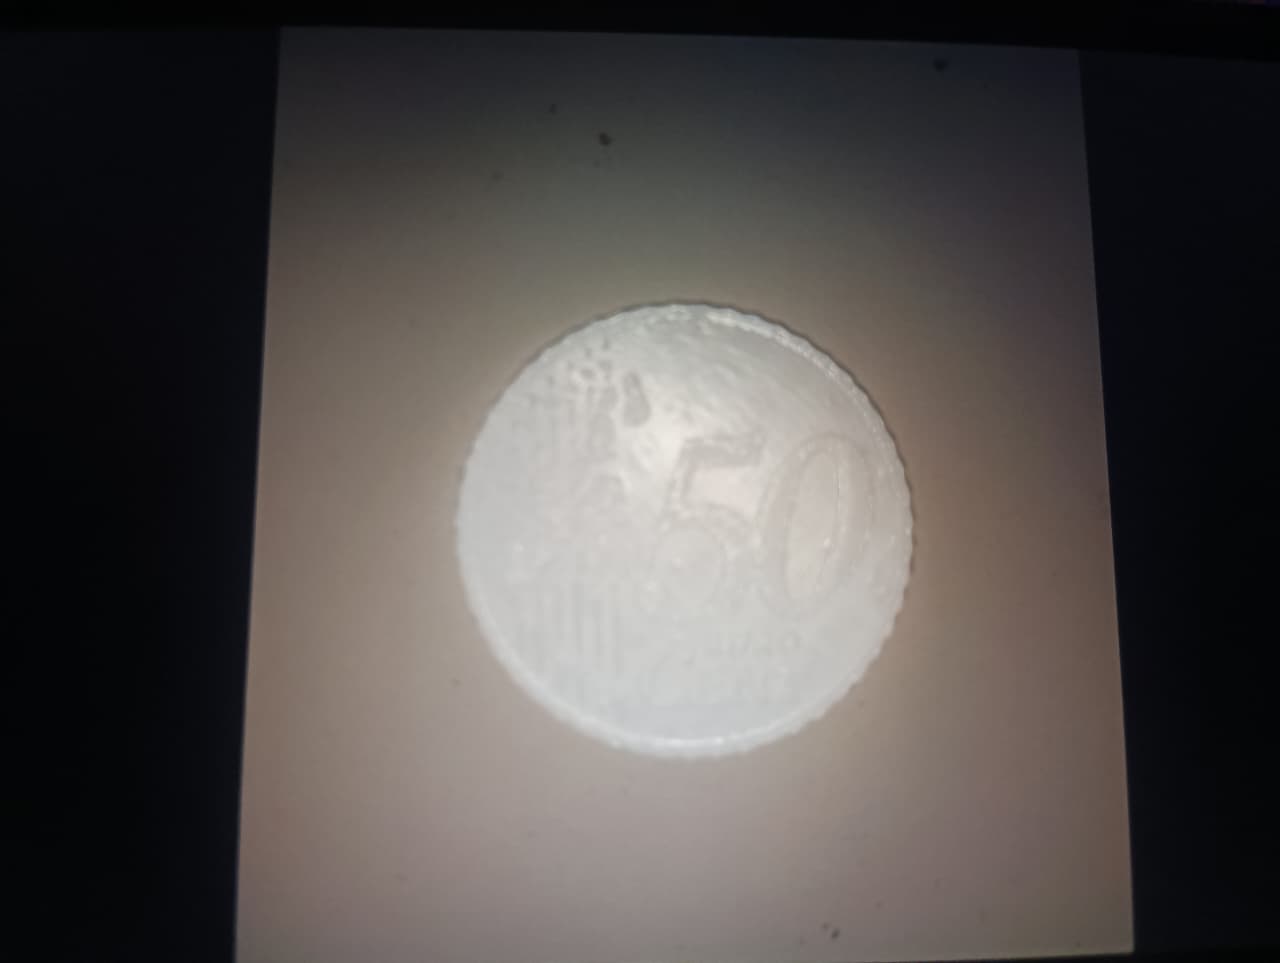
Day 3
ProjectDesigning and Printing a Coin
On the third day of the module, we applied our new skills by creating a small project: designing and printing a coin. I used **CAD software** to create a precise 3D model, focusing on dimensions and details like text and patterns. After importing the model into Ultimaker Cura, I adjusted the print settings for fine detail and strength, then sliced the model to generate the final G-code. The hands-on part involved setting up the printer with the correct filament and observing the coin being created layer by layer, which was a great exercise in **quality control**.
Project Steps & Skills Developed:
- Created the coin's 3D model using CAD software.
- Focused on dimensions, thickness, and design details (text/patterns).
- Imported the model into Ultimaker Cura.
- Adjusted print settings for fine detailing and strength.
- Sliced the model to generate G-code.
- Transferred the file to the 3D printer and set up the filament.
- Initiated and monitored the printing process.
- Observed the coin taking shape layer by layer.